Using the Figma prototype, we can bring our UI/UX designs to life by turning them into interconnected and interactive screens, where we can see how our users would have to navigate the app or web design. What’s amazing about Figma design is that we can do it without writing the code.
However, although it’s quite easy to create prototypes in Figma, it can still be challenging and time-consuming – especially if you’re a beginner Figma designer. But don’t worry! We’ll learn all about what is a prototype, how to Figma prototype, and even some Figma Prototyping tools to help you get started.
Look at your phone, the social media platforms you use, or even your favorite game – all of these products started as one thing: prototypes.
What exactly does this mean? Well, in order to create a fully functional product, we must ensure that our users can use the product logically and seamlessly. This way, by creating prototypes of our products, we, as UI/UX designers, can see how our users would interact with the elements on the screen, helping us test, identify potential issues, and get feedback for our product.
"Prototyping is a quick way to go from sketches or wireframes to a simulation where you can get user feedback." – Tom Lowry, Figma Director of Advocacy.
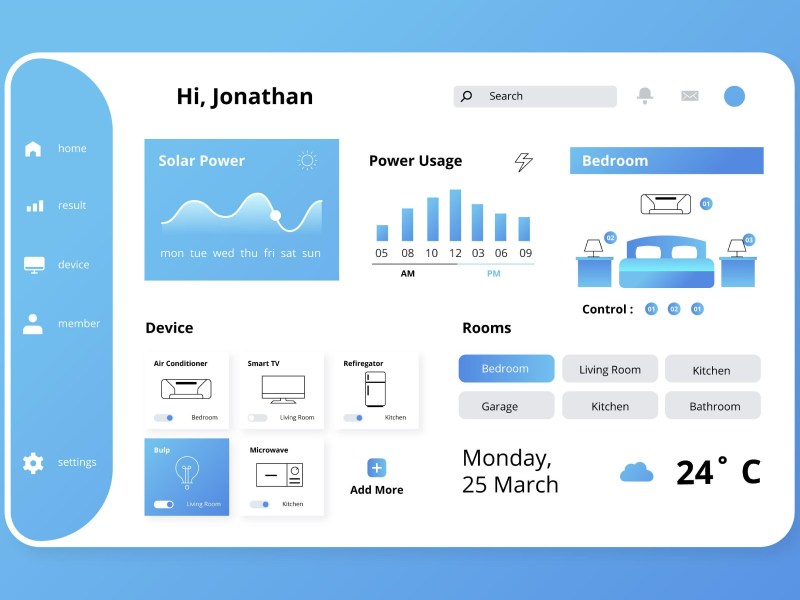
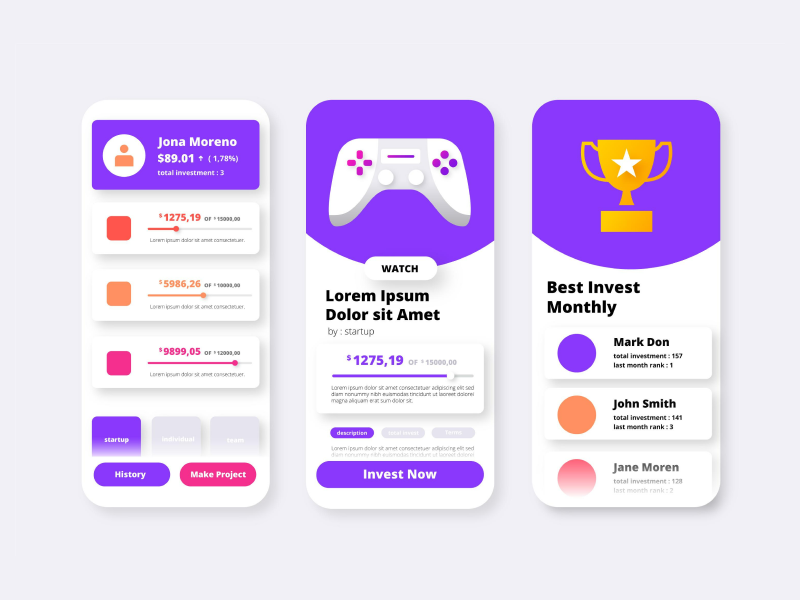
In Figma design, we can create flows that are made up of multiple screens that can help us preview the entire user journey. For example, let’s say that you’re building a Finance app. Now, we can choose to iterate only one screen with multiple elements, or we can see the flows – from signing up to adding a card, sending money, and seeing transaction reports.
When you click on the Play button in the right corner, it will open another tab and present the frame you selected or the starting point of the flow in an app or website mockup. From then on, we can click on the screen, and it will change through the interactions of the product UI UX design.
How to Add a Starting Point?
To create a flow prototype, we must add a starting point to the first connection of the screens. Here is how to add a prototype starting point:
- Select your starting frame, choose the Prototype panel, and click the Flow Starting Point button.
- Select your starting frame, right-click, and then click the Add Starting Point button.
How to Create Connections?
Connections represent the interaction between the screens that make up the entire product UI UX design flow. In the prototyping tab, an app or website mockup with our design will appear, and it will provide a realistic image of how the product will look in real life.
So, to create simple connections in Figma – moving from one screen to another – we choose the elements or screens that we want to make the connections between, and we’re good to go.
- Go to the Prototype panel and click on the Interactions button
- Click on the + button that has appeared next to the element we have previously selected
- Drag the node to the destination (the connection)
- You can create interactions from multiple screens or elements to the same destination frame.
How to Create Animated Connections?
If you want to add a little “oomph” and impress your users and clients even more, you can easily animate your interactions by using the Figma prototype. To do that, you can perform the same steps as when creating simple connections and play with the interaction details. There, you have multiple possibilities that you can use, depending on your wants and needs.
The animated transition default is “On click”, but you also have:
- On drag
- While hovering
- While pressing
- Key/Gamepad
- Mouse enter
- Mouse leave
- Mouse down
- Mouse up
- After delay
We recommend trying every one of them and seeing which one is better for your UI UX design needs before making a decision. Figma prototype also allows you to choose what to animate the next destination frame, including “Navigate to” or “Set Variable”.
One of the best things about Figma is that it allows us, as UI UX designers, to easily share the prototypes with everyone – whether it’s another designer, a developer, a product manager, or even a client.
- Click on the Share button in the top right
- If needed, change the sharing settings
- Copy the link
- Share it with your team and everyone you want.
They can give you feedback and comment on your prototype using the Comment tool (press C or select the “Add Comment” tool in the toolbar).
It’s time to start prototyping!
We at uinkits understand the importance of inputs in great user experiences and creating amazing UI designs. That’s why we’ve developed a Figma UI Kit with design components that include these essential UI elements that enable you to design intuitive and user-friendly interfaces effortlessly.
“You press the button, we do the rest,” – Kodak.
Inspired by this iconic tagline from Kodak, we believe in simplifying the design process for you. Our Figma UI Kit, uinkits, is a complete design system with UI components that allows you, as a UI UX designer, to create your products as quickly as pressing a button.
Our design system includes components, icons, variables, cards, buttons, and everything you need for your design process. All you have to do is take your UI design component needed, and you’re ready to use it in your designs!